Get started in ten minutes
From installing RoughCut to importing your first cut into Final Cut Pro, with every decision explained.
This walkthrough takes a first-time user from download to a finished Final Cut Pro import. You confirm your Mac meets the requirements, install RoughCut from the Mac App Store, optionally switch the interface to Arabic, download the local speech model, decide whether you need an AI provider key, then create one job with the recommended defaults, review the proposed cuts, export the FCPXML, and import it into Final Cut Pro. An AI key is optional: without one RoughCut still removes silences and long pauses using on-device analysis only. Your first five completed rough cuts are included, and transcription-only jobs never count against them.
On this page
Prerequisites
- A Mac with Apple Silicon. RoughCut is built for arm64 only; Intel Macs are not supported.
- A current macOS version — check the system requirements and the Mac App Store listing, which is always authoritative for the live minimum.
- Final Cut Pro, DaVinci Resolve, or Adobe Premiere Pro to open the result. RoughCut prepares the edit; it does not play or render video.
- About 2 GB of free disk space if you use on-device transcription, for the one-time speech model download.
Steps
- Install RoughCut from the Mac App Store. The download is free and includes five complete rough cuts.
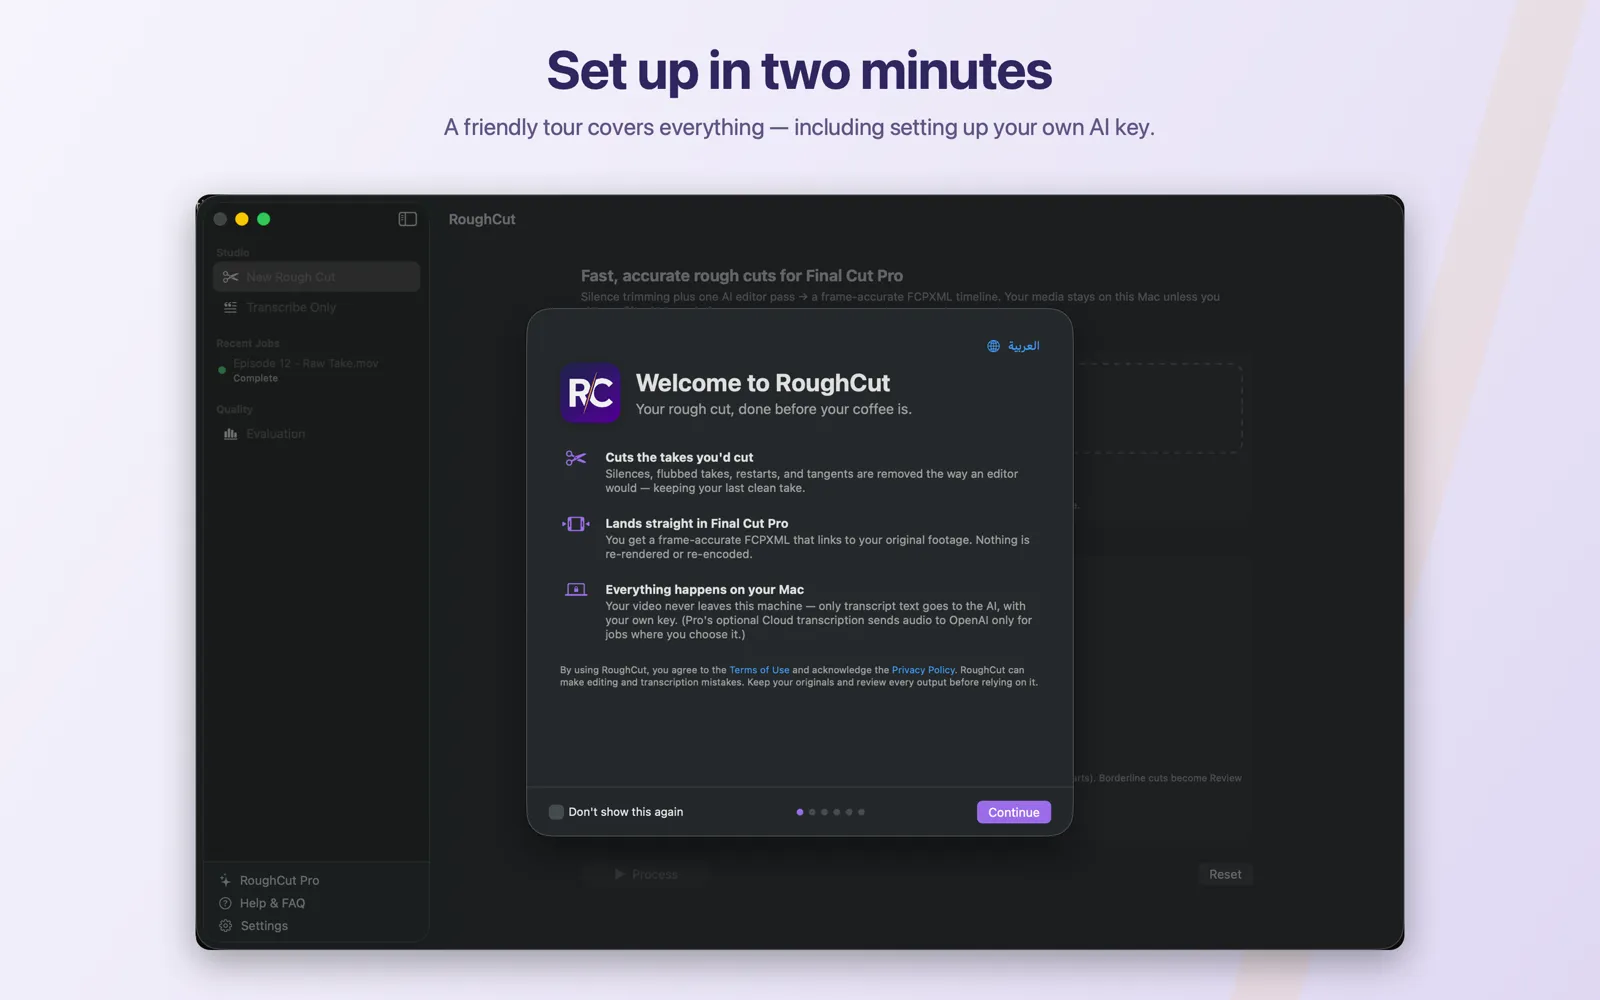
- Open RoughCut. The welcome tour appears. It has six pages and explains the workflow, the commercial model, and how to get an AI key. You can reopen it any time from
Help → RoughCut Welcome Tour. - Choose your language if you want Arabic. The globe control at the top right of the welcome tour switches the interface between English and العربية. RoughCut relaunches to apply it. English is the default on first run for everyone, including Macs set to Arabic — Arabic is deliberately opt-in. See Switch between English and Arabic.
- Install the speech model. Open
Settings → Models & Dataand clickDownload from Hugging Face. This is a one-time download of about 1.6 GB, cached on your Mac. If the download stalls, useCopy download linkandImport model file…instead — the full recovery path is in Install the local speech model. You can skip this step only if you have RoughCut Pro and intend to use Cloud transcription for every job. - Decide whether you need an AI key. Without a key, RoughCut removes silences and long pauses using on-device analysis alone. With a key, it also proposes removals for retakes, false starts, tangents, and filler. The key is yours, billed by your provider, and stored in the macOS Keychain. Start with Choose Gemini or OpenAI.
- Create your first job. Choose
New Rough Cutin the sidebar, drop in a video, and leave the recommended defaults:Recording environmentonStandard,TranscriptiononOn-device,Bad-take removalon,Second Lookoff,LanguageonAuto-detect, and no video goal. ClickProcess. - Watch it run. The job moves through preparing, extracting audio, detecting silence, transcribing, the AI editor pass, snapping cuts to words, and writing the FCPXML. Transcription is the longest stage. See Understand job progress.
- Review the cuts. When the job finishes you get a chronological list of every proposed removal with its transcript, category, and confidence. Play any range to hear it. Flip any decision, then click
Recompute Cutsif you changed anything. See Review the cut on the timeline. - Export. Click
Export for Final Cut Pro…. The saved file is named after your source clip and ends inRoughCut.fcpxml. - Import into Final Cut Pro. Choose
File → Import → XMLand select the exported file. Your rough cut appears on the timeline, linked to your original footage.
Expected result
A Final Cut Pro timeline containing only the segments RoughCut kept, cut on frame boundaries and linked to your original media. Nothing was re-rendered, and your source file is untouched.
Privacy and cost note
On-device transcription uploads nothing. If you enabled Bad-take removal, the transcript text — not your video or audio — is sent to the provider you chose, under your own key, and that provider bills you directly at its published rates. RoughCut adds no markup and operates no servers in that path.
Common mistakes
- Moving the source file after processing. The exported timeline points at your original media where it was when the job ran. Move it and Final Cut Pro reports the media as offline; use
File → Relink Filesto recover. - Expecting a rendered video. The export is an edit decision file, not a new movie.
- Assuming a key is required. It is not. Turn
Bad-take removaloff for a silence-only cut that needs no key at all. - Skipping the model download and not having Pro. Without the local model, on-device transcription cannot run and
Processstays disabled.
Troubleshooting
If Process is disabled, check in order: a video is selected, no validation error is showing in red, the speech model is ready (or Cloud transcription is selected), and you still have free cuts left or have purchased the unlock. If the job fails, the error names the cause — see Troubleshooting by symptom.